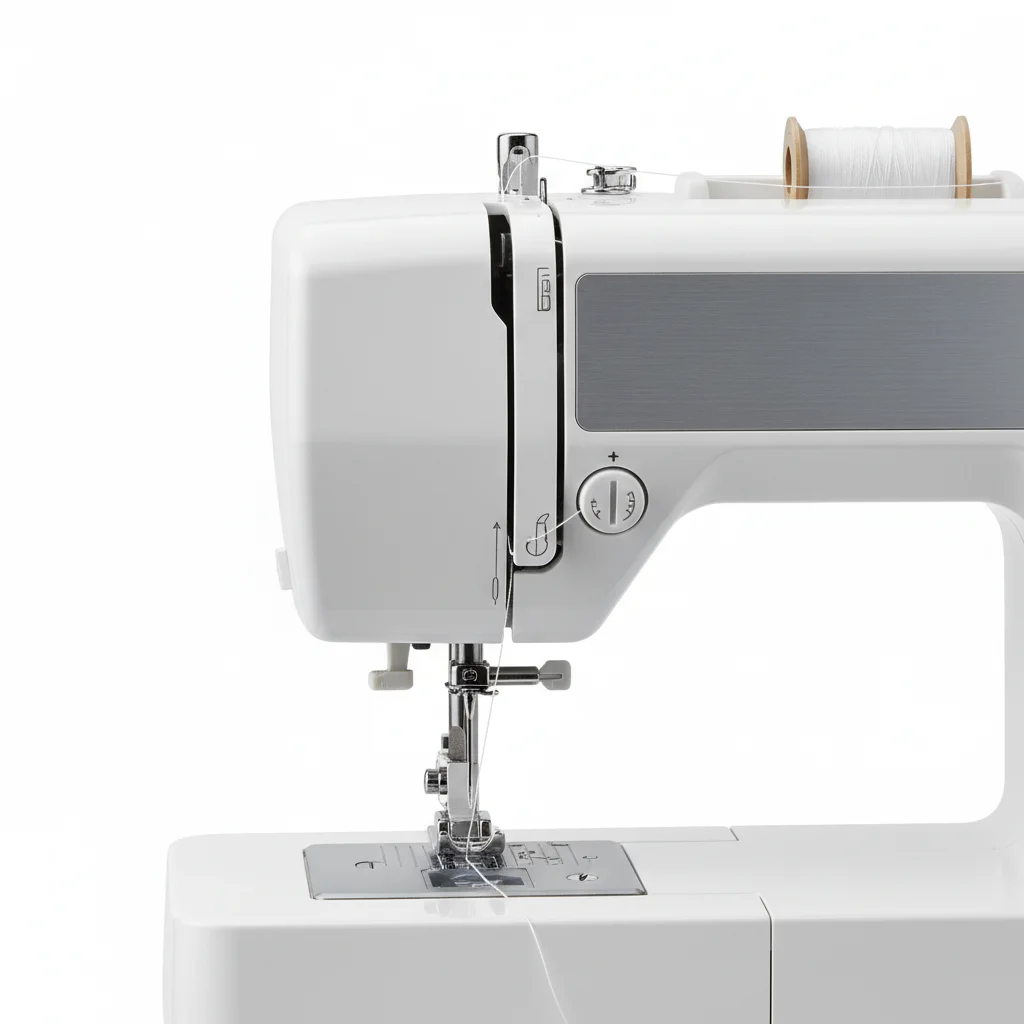
Mastering sewing machine threading is a fundamental skill that ensures smooth operation and flawless stitches. This comprehensive guide will walk you through the essential steps, common pitfalls, and expert tips to achieve perfect tension and avoid frustrating thread breaks. Proper threading is crucial for any sewing project, from simple mending to intricate garment construction.
Understanding Your Machine’s Threading Path
Every sewing machine, regardless of brand or model, follows a specific threading path designed to guide the thread from the spool to the needle. Typically, this involves passing the thread through various guides, tension discs, and the take-up lever. Familiarize yourself with your machine’s manual, as it provides a diagram of its unique threading sequence. Incorrectly skipping a guide or failing to seat the thread properly in the tension discs can lead to skipped stitches, tangles, and uneven tension. For compare top sewing machine on this site.
Step-by-Step Upper Threading Process
Begin by placing your spool of thread on the spool pin, ensuring it unwinds smoothly. Next, guide the thread through the first thread guide, often a small hook or clip. Then, bring the thread down through the main thread guide, usually a larger slot or channel. The most critical step is passing the thread through the tension discs; ensure it is firmly seated between them. After the tension discs, loop the thread up and over the take-up lever, making sure it clicks into place. Finally, guide the thread down to the needle, passing it through any remaining guides, and thread the needle from front to back (or as indicated by your machine’s manual).
Threading the Bobbin and Lower Thread
The bobbin provides the lower thread for your stitches. Winding a bobbin correctly is just as important as threading the upper thread. Most machines have a dedicated bobbin winder. Place an empty bobbin on the winder spindle, guide the thread from the spool through the bobbin winding tension disc, and then wrap it a few times around the empty bobbin. Engage the winder and let it fill the bobbin evenly. Once wound, insert the bobbin into its case (either a drop-in or front-loading type) according to your machine’s instructions. Ensure the thread is pulled through the bobbin case tension spring, creating a slight resistance. Finally, pull the upper thread down, turn the handwheel to lower and raise the needle, catching the bobbin thread, and pull both threads to the back under the presser foot.
Common Threading Mistakes to Avoid
|
Our Picks for the Best Sewing Machine in 2026
As an Amazon Associate I earn from qualifying purchases.
|
||
| Num | Product | Action |
|---|---|---|
| 1 | Brother SE700 Sewing and Embroidery Machine, Wireless LAN Connected, 135 Built-in Designs, 103 Built-in Stitches, Computerized, 4" x 4" Hoop Area, 3.7" Touchscreen Display, 8 Included Feet, White |

|
| 2 | Brother CS7000X Computerized Sewing and Quilting Machine, 70 Built-in Stitches, LCD Display, Wide Table, 10 Included Feet, White |
|
| 3 | SINGER Heavy Duty 4452 High-Speed Sewing Machine with Accessory Kit | Strong Motor with Enhanced Piercing Power, 110 Stitch Applications, Full Metal Frame, 1-Step Buttonhole & LED Lights, Grey |
|
| 4 | Brother Sewing and Quilting Machine, XR3774, 37 Built-in Stitches, Wide Table, 8 Included Sewing Feet |
|
| 5 | Janome Cat Fancy Easy-to-Use Sewing Machine with Interior Metal Frame, Bobbin Diagram, Tutorial Videos, Made with Beginners in Mind!, Multi-Color |
|
| 6 | Brother XM2701 Sewing Machine, Lightweight, Full Featured, 27 Stitches, 6 Included Feet |
|
| 7 | Brother FB1757X Mechanical Sewing Machine |
|
| 8 | Brother RLX3817 17-Stitch Sewing Machine, White(Renewed) |
|
| 9 | SINGER Heavy Duty 4423 Meltwater Blue High Speed Sewing Machine with Accessory Kit | Strong Motor With Enhanced Piercing Power, 97 Stitch Applications, Full Metal frame, 1-step Buttonhole & LED Light |
|
| 10 | SINGER Heavy Duty 4411 High-Speed Sewing Machine with Accessory Kit | Strong Motor, Enhanced Piercing Power, 69 Stitch Applications, Full Metal Frame, 4-Step Buttonhole & LED Light, Grey |
|
- Skipping a thread guide: This can lead to loose stitches and tangles.
- Incorrectly seating the thread in tension discs: Results in uneven tension and thread breaks.
- Improper bobbin winding: Can cause knotting and poor stitch quality.
- Threading with the presser foot down: The tension discs won’t be open, leading to incorrect tension.
- Using the wrong needle size or type for your fabric and thread: Causes skipped stitches and damage.
Troubleshooting Threading Issues
If you’re experiencing issues like skipped stitches, tangled thread, or uneven tension, the first place to check is your threading. Re-thread both the upper thread and the bobbin carefully, following your machine’s manual precisely. Ensure your thread is not snagging on the spool and that your needle is inserted correctly and is not bent or dull. Sometimes, a simple re-threading can resolve a multitude of problems. If issues persist, consider cleaning your machine’s tension discs and bobbin area for any lint or debris.
For a reliable machine that simplifies the threading process, consider the. Its intuitive design and clear threading guides make it an excellent choice for both beginners and experienced sewers. Another fantastic option, known for its consistent tension and smooth operation, is the, which often features an automatic needle threader, saving you time and frustration.
