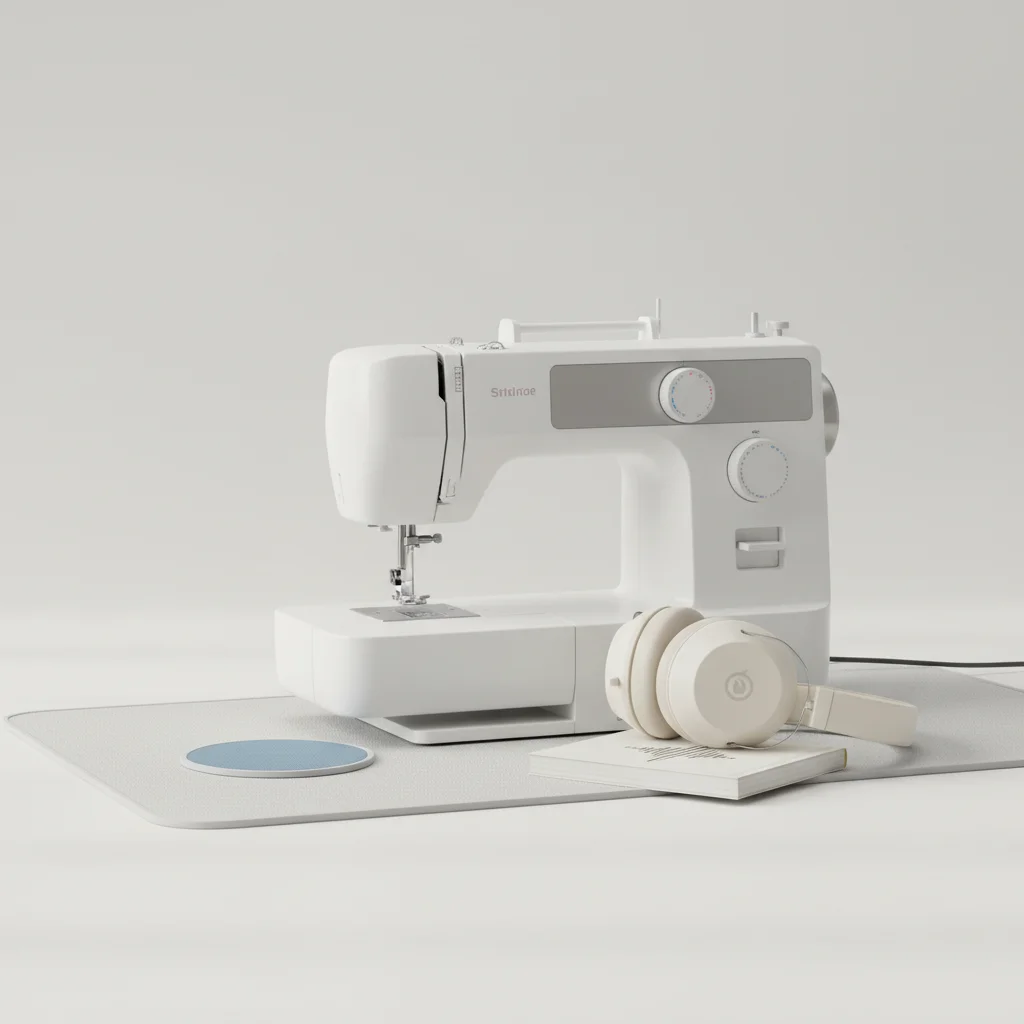
Excessive sewing machine noise can be a significant distraction, but understanding its common causes can lead to a much quieter workspace. There are typically five main reasons for a noisy sewing machine: lack of lubrication, loose components, worn parts, incorrect thread tension, or an uneven surface. Addressing these issues can dramatically reduce the sound output, making your sewing experience more enjoyable and less disruptive.
Identifying the Source of Sewing Machine Noise
Before you can fix a noisy sewing machine, you need to pinpoint where the sound is coming from. Listen carefully to determine if the noise is a squeak, rattle, clunk, or hum. A high-pitched squeak often indicates a lack of oil, while a rattling sound might suggest loose screws or components. A clunking noise could point to a timing issue or a worn part, and an unusual hum might be related to the motor.
Lubrication: The First Step to Silence
Many sewing machines become noisy simply due to a lack of proper lubrication. Moving metal parts create friction, and without oil, this friction generates heat and sound. Consult your machine’s manual for specific oiling points and the recommended type of sewing machine oil. Typically, you’ll need to oil the bobbin case area, the needle bar, and various gears. A well-lubricated machine runs smoother and significantly quieter.
Tightening Loose Components
|
Our Picks for the Best Sewing Machine in 2026
As an Amazon Associate I earn from qualifying purchases.
|
||
| Num | Product | Action |
|---|---|---|
| 1 | Brother FB1757X Mechanical Sewing Machine |

|
| 2 | Brother SE700 Sewing and Embroidery Machine, Wireless LAN Connected, 135 Built-in Designs, 103 Built-in Stitches, Computerized, 4" x 4" Hoop Area, 3.7" Touchscreen Display, 8 Included Feet, White |
|
| 3 | SINGER Heavy Duty 4411 High-Speed Sewing Machine with Accessory Kit | Strong Motor, Enhanced Piercing Power, 69 Stitch Applications, Full Metal Frame, 4-Step Buttonhole & LED Light, Grey |
|
| 4 | Brother Sewing and Quilting Machine, XR3774, 37 Built-in Stitches, Wide Table, 8 Included Sewing Feet |
|
| 5 | Brother RLX3817 17-Stitch Sewing Machine, White(Renewed) |
|
| 6 | SINGER Heavy Duty 4452 High-Speed Sewing Machine with Accessory Kit | Strong Motor with Enhanced Piercing Power, 110 Stitch Applications, Full Metal Frame, 1-Step Buttonhole & LED Lights, Grey |
|
| 7 | Janome Cat Fancy Easy-to-Use Sewing Machine with Interior Metal Frame, Bobbin Diagram, Tutorial Videos, Made with Beginners in Mind!, Multi-Color |
|
| 8 | Brother CS7000X Computerized Sewing and Quilting Machine, 70 Built-in Stitches, LCD Display, Wide Table, 10 Included Feet, White |
|
| 9 | SINGER Heavy Duty 4423 Meltwater Blue High Speed Sewing Machine with Accessory Kit | Strong Motor With Enhanced Piercing Power, 97 Stitch Applications, Full Metal frame, 1-step Buttonhole & LED Light |
|
| 10 | Brother XM2701 Sewing Machine, Lightweight, Full Featured, 27 Stitches, 6 Included Feet |
|
Over time, vibrations from regular use can cause screws and other components to loosen. This can lead to rattling and buzzing noises. Carefully inspect your sewing machine, paying close attention to the needle plate, bobbin case, and any access panels. Use the appropriate screwdriver to gently tighten any loose screws. Be careful not to overtighten, as this can strip the threads or damage the components. This simple check can often eliminate a surprising amount of noise.
Addressing Worn Parts and Replacements
Some noise issues stem from worn-out parts that need replacement. Common culprits include worn gears, a damaged bobbin case, or a motor that is nearing the end of its life. If you suspect a worn part, it’s often best to consult a qualified sewing machine technician. They can accurately diagnose the issue and replace the necessary components, restoring your machine to optimal, quieter operation.
Optimizing Thread Tension and Machine Placement
Incorrect thread tension can sometimes cause the machine to work harder than necessary, leading to increased noise. Ensure both your upper and bobbin thread tensions are correctly set for your fabric and thread type. Additionally, the surface your sewing machine rests on can amplify noise. Place your machine on a sturdy, level table, and consider using a rubber mat or a piece of dense foam underneath to absorb vibrations. This can make a noticeable difference in the overall sound level of your sewing area.
- Regularly clean lint and dust from the bobbin area.
- Use high-quality thread to prevent snags and undue strain.
- Check the needle for bends or dullness and replace as needed.
- Ensure the bobbin is wound evenly and correctly inserted.
- Keep your machine covered when not in use to prevent dust buildup.
By systematically addressing these common causes, you can significantly reduce sewing machine noise and create a more peaceful and productive sewing environment. A little maintenance goes a long way in preserving both your machine’s performance and your sanity.

My machine has been making a weird clunking noise for a while, and I was hoping this would give me an easy fix. I tried checking for worn parts and timing issues like it mentioned, but I still can’t quite pinpoint it. It’s a bit better after I oiled it, but the clunk is still there sometimes. Guess I might need to take it in for a professional look.
I was so frustrated with the constant rattling from my old machine, it made sewing after the kids went to bed impossible. This guide really helped me figure out that it was just some loose screws. A quick tighten and a little oil, and it’s like a brand new machine! So much quieter now, I can actually enjoy my late-night projects.
The tip about an uneven surface was a game-changer for me! I always thought my machine was just loud, but moving it to a more stable table and putting a mat underneath made a huge difference. It’s not perfectly silent, but the reduction in vibration and hum is noticeable. Definitely made my sewing room a more peaceful place.
My machine developed a really annoying high-pitched squeak, and I was worried something major was wrong. Turns out, it just needed some lubrication, exactly as described for squeaking noises. I followed the steps for oiling, and now it runs smoothly and quietly. So glad I didn’t have to buy a new one!