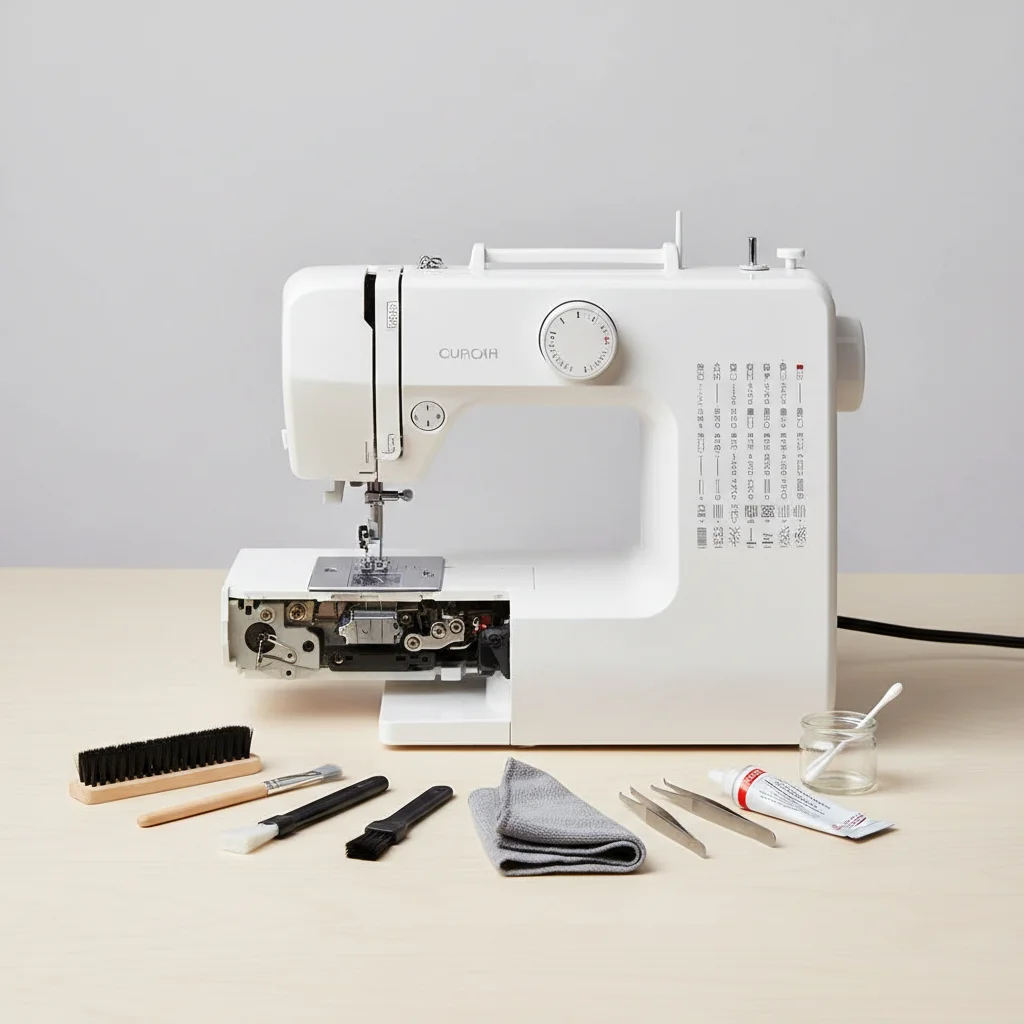
Regular sewing machine cleaning is essential for maintaining its performance and extending its lifespan. A well-maintained machine can prevent common issues like skipped stitches, thread jams, and uneven tension. This guide will walk you through the five crucial steps to keep your sewing machine in pristine condition, ensuring smooth and enjoyable sewing sessions.
Why Regular Cleaning Matters for Your Sewing Machine
Just like any intricate piece of machinery, a sewing machine accumulates lint, dust, and thread fragments over time. These particles can clog vital components, leading to friction, wear, and ultimately, machine malfunction. Neglecting regular cleaning can result in costly repairs and a frustrating sewing experience. By dedicating a small amount of time to maintenance, you can significantly improve your machine’s efficiency and longevity. For complete sewing machine library on this site.
Gathering Your Cleaning Essentials
Before you begin, ensure you have the right tools. You’ll need a small brush (often included with your machine), a mini vacuum cleaner or canned air, a screwdriver (for plate removal), lint-free cloths, and sewing machine oil. Avoid using household cleaners or harsh chemicals, as these can damage delicate parts. Always consult your machine’s manual for specific cleaning recommendations and warnings.
Step-by-Step Guide to Deep Cleaning Your Sewing Machine
The cleaning process involves several key areas. First, unplug your machine for safety. Remove the needle, presser foot, and needle plate. Use your small brush to gently sweep away lint and dust from the bobbin case area, feed dogs, and under the needle plate. For stubborn lint, a mini vacuum or canned air can be effective, but be cautious not to blow debris further into the machine. Next, clean the tension discs by flossing a lint-free cloth through them. Finally, apply a small drop of sewing machine oil to the designated oiling points as indicated in your manual. Remember, less is more when it comes to oiling.
- Unplug the machine and remove the needle and presser foot.
- Remove the needle plate and bobbin case.
- Brush away lint and dust from all accessible areas.
- Clean tension discs with a lint-free cloth.
- Oil designated points according to your manual.
Maintaining Your Machine Between Deep Cleans
|
Our Picks for the Best Sewing Machine in 2026
As an Amazon Associate I earn from qualifying purchases.
|
||
| Num | Product | Action |
|---|---|---|
| 1 | Brother XM2701 Sewing Machine, Lightweight, Full Featured, 27 Stitches, 6 Included Feet |

|
| 2 | Brother RLX3817 17-Stitch Sewing Machine, White(Renewed) |
|
| 3 | SINGER Heavy Duty 4411 High-Speed Sewing Machine with Accessory Kit | Strong Motor, Enhanced Piercing Power, 69 Stitch Applications, Full Metal Frame, 4-Step Buttonhole & LED Light, Grey |
|
| 4 | Brother CS7000X Computerized Sewing and Quilting Machine, 70 Built-in Stitches, LCD Display, Wide Table, 10 Included Feet, White |
|
| 5 | SINGER Heavy Duty 4452 High-Speed Sewing Machine with Accessory Kit | Strong Motor with Enhanced Piercing Power, 110 Stitch Applications, Full Metal Frame, 1-Step Buttonhole & LED Lights, Grey |
|
| 6 | SINGER Heavy Duty 4423 Meltwater Blue High Speed Sewing Machine with Accessory Kit | Strong Motor With Enhanced Piercing Power, 97 Stitch Applications, Full Metal frame, 1-step Buttonhole & LED Light |
|
| 7 | Brother Sewing and Quilting Machine, XR3774, 37 Built-in Stitches, Wide Table, 8 Included Sewing Feet |
|
| 8 | Brother SE700 Sewing and Embroidery Machine, Wireless LAN Connected, 135 Built-in Designs, 103 Built-in Stitches, Computerized, 4" x 4" Hoop Area, 3.7" Touchscreen Display, 8 Included Feet, White |
|
| 9 | Janome Cat Fancy Easy-to-Use Sewing Machine with Interior Metal Frame, Bobbin Diagram, Tutorial Videos, Made with Beginners in Mind!, Multi-Color |
|
| 10 | Brother FB1757X Mechanical Sewing Machine |
|
While a deep clean is important, daily maintenance also plays a significant role. After each sewing session, take a moment to brush away any visible lint from the bobbin area and under the needle plate. Keep your machine covered when not in use to prevent dust accumulation. Using high-quality thread can also reduce lint buildup. Consider a dedicated sewing machine cover liketo protect your investment from environmental factors.
When to Seek Professional Sewing Machine Servicing
Even with diligent home cleaning, your sewing machine will benefit from professional servicing every one to two years, depending on your usage. A professional technician can access internal components, perform adjustments, and address issues that are beyond the scope of home maintenance. If you notice persistent problems like unusual noises, inconsistent stitching, or difficulty with specific functions, it’s time to consult a professional. For routine maintenance and cleaning supplies, consider checking outfor a comprehensive selection.
