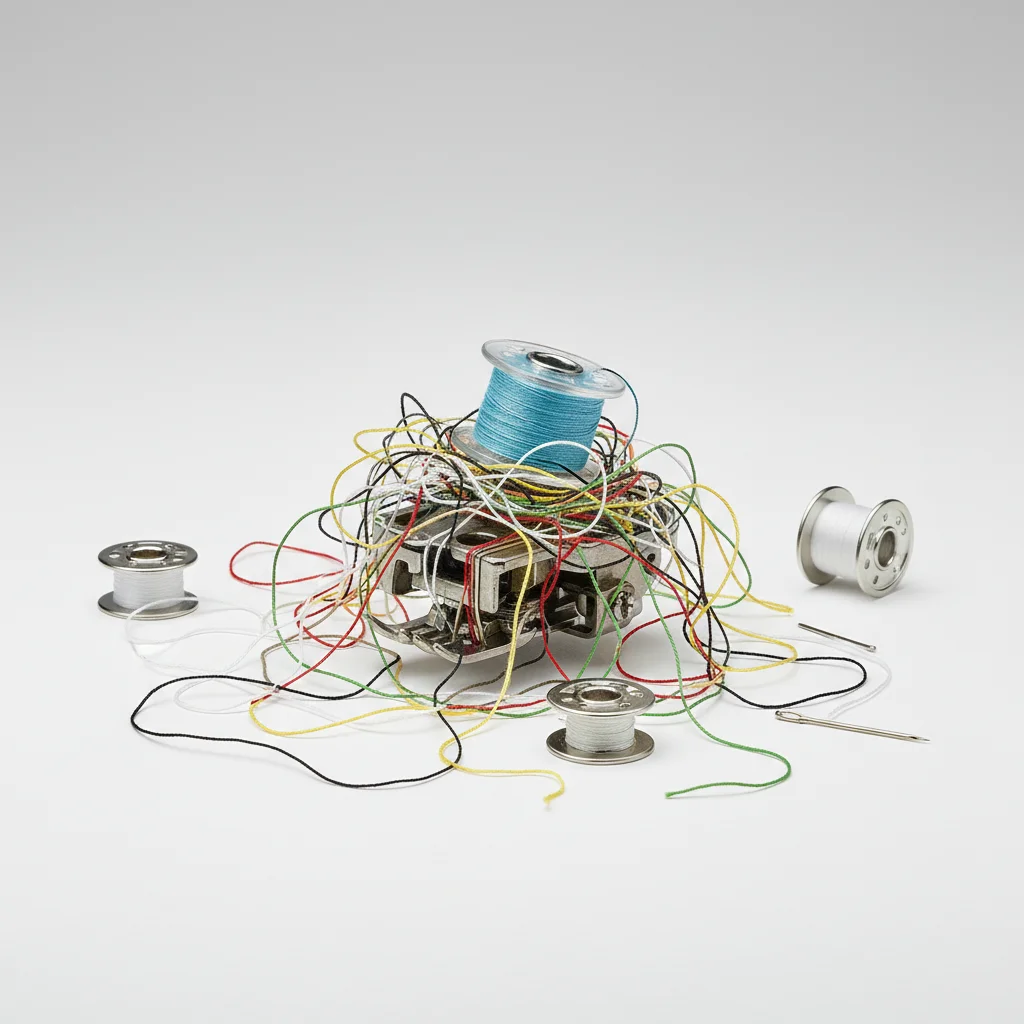
Sewing machine bobbin problems are a common frustration for sewers of all skill levels, often leading to tangled threads, skipped stitches, and overall project delays. The good news is that most bobbin-related issues can be resolved with a few simple troubleshooting steps. This guide will walk you through the five most frequent bobbin problems and their effective solutions, ensuring your stitches are smooth and consistent.
Understanding Your Bobbin System
Before diving into specific problems, it’s crucial to understand how your bobbin system works. The bobbin holds the lower thread, which interlocks with the upper thread to form a stitch. Proper winding, insertion, and tension of the bobbin thread are essential for balanced stitches. There are two main types of bobbin systems: top-loading (drop-in) and front-loading (side-loading). While the mechanics differ slightly, the principles of good bobbin management remain the same.
Problem 1: Tangled Bobbin Thread (Bird’s Nest)
A ‘bird’s nest’ of tangled thread on the underside of your fabric is perhaps the most common and frustrating bobbin problem. This usually indicates an issue with the upper thread tension or how the machine is threaded. First, re-thread your entire machine, ensuring the upper thread is correctly seated in all guides and the tension discs. Next, check your bobbin. Is it wound evenly? Is it inserted correctly into the bobbin case or drop-in compartment? An improperly seated bobbin can cause erratic thread release, leading to tangles. Also, ensure you are using the correct bobbin type for your machine; using the wrong size can cause significant issues.
Problem 2: Uneven or Skipped Stitches
Uneven or skipped stitches can often be traced back to bobbin issues, though upper thread tension and needle problems are also culprits. If your stitches are inconsistent, first check your bobbin winding. An unevenly wound bobbin will release thread at varying rates, leading to irregular stitches. Rewind the bobbin, ensuring the thread is distributed smoothly and tightly. Also, inspect your bobbin case for any lint or debris that might be obstructing the thread path. A clean bobbin case allows for smooth thread flow. If you have a front-loading bobbin, ensure the bobbin case is inserted correctly and clicked into place.
Problem 3: Bobbin Thread Breaking Frequently
|
Our Picks for the Best Sewing Machine in 2026
As an Amazon Associate I earn from qualifying purchases.
|
||
| Num | Product | Action |
|---|---|---|
| 1 | SINGER Heavy Duty 4452 High-Speed Sewing Machine with Accessory Kit | Strong Motor with Enhanced Piercing Power, 110 Stitch Applications, Full Metal Frame, 1-Step Buttonhole & LED Lights, Grey |

|
| 2 | Brother SE700 Sewing and Embroidery Machine, Wireless LAN Connected, 135 Built-in Designs, 103 Built-in Stitches, Computerized, 4" x 4" Hoop Area, 3.7" Touchscreen Display, 8 Included Feet, White |
|
| 3 | Brother FB1757X Mechanical Sewing Machine |
|
| 4 | SINGER Heavy Duty 4411 High-Speed Sewing Machine with Accessory Kit | Strong Motor, Enhanced Piercing Power, 69 Stitch Applications, Full Metal Frame, 4-Step Buttonhole & LED Light, Grey |
|
| 5 | Brother CS7000X Computerized Sewing and Quilting Machine, 70 Built-in Stitches, LCD Display, Wide Table, 10 Included Feet, White |
|
| 6 | Brother XM2701 Sewing Machine, Lightweight, Full Featured, 27 Stitches, 6 Included Feet |
|
| 7 | Brother Sewing and Quilting Machine, XR3774, 37 Built-in Stitches, Wide Table, 8 Included Sewing Feet |
|
| 8 | Brother RLX3817 17-Stitch Sewing Machine, White(Renewed) |
|
| 9 | SINGER Heavy Duty 4423 Meltwater Blue High Speed Sewing Machine with Accessory Kit | Strong Motor With Enhanced Piercing Power, 97 Stitch Applications, Full Metal frame, 1-step Buttonhole & LED Light |
|
| 10 | Janome Cat Fancy Easy-to-Use Sewing Machine with Interior Metal Frame, Bobbin Diagram, Tutorial Videos, Made with Beginners in Mind!, Multi-Color |
|
Frequent bobbin thread breakage can halt your sewing progress. This problem often stems from excessive tension, a damaged bobbin, or a burr in the bobbin case. Start by checking the tension screw on your bobbin case (if applicable) and slightly loosening it. Inspect the bobbin itself for any nicks or rough spots that could be snagging the thread. If the bobbin is plastic, a small crack can cause thread to catch and break. Also, run a finger along the thread path within the bobbin case to feel for any burrs or sharp edges. Cleaning the bobbin area thoroughly can also help, as accumulated lint can create friction.
Problem 4: Bobbin Not Winding Correctly
If your bobbin isn’t winding correctly, it can’t perform its job. Common issues include the thread not wrapping evenly, the bobbin not filling completely, or the winding mechanism not engaging. Ensure the thread is correctly routed through the bobbin winding tension disc before it reaches the bobbin. If the thread isn’t winding evenly, it might be due to incorrect placement on the winding pin or a faulty winding mechanism. Some machines have a small lever or button to engage the bobbin winder; ensure it’s fully engaged. If the bobbin isn’t filling completely, check if the bobbin stopper is set correctly for your bobbin size.
Problem 5: Loose or Tight Bobbin Tension
Achieving balanced tension between your upper and bobbin threads is key to perfect stitches. If your bobbin tension is too loose, you’ll see loops on the top side of your fabric. If it’s too tight, you’ll see loops on the underside. Adjusting bobbin tension can be delicate. For top-loading bobbins, there’s usually no direct tension adjustment; instead, focus on proper winding and upper thread tension. For front-loading bobbin cases, there’s a small screw. Turn it in tiny increments (quarter turns) to adjust. Righty-tighty for more tension, lefty-loosey for less. Always test on a scrap fabric after each adjustment.
- Always use bobbins specifically designed for your sewing machine model.
- Wind bobbins evenly and smoothly, avoiding overfilling.
- Regularly clean the bobbin area, removing lint and debris.
- Inspect bobbins and bobbin cases for damage or burrs.
- Test tension adjustments on scrap fabric before sewing your project.
